Printing Excel lists onto labels
 After happily using Herma labels to label my beer bottles, I also want to use them to label jars in which I keep my SMD electronic components. Instead of printing multiple copies of the same label, I needed to figure out a way to print a different text onto each label, preferably without having to type over all the label information that I already have in an Excel file. Luckily, the Herma Label Designer has a feature to import information from a ‘database’. It has a small learning curve, so here’s a quick tutorial.
Let’s first look at our ‘database’: an Excel file with 4 columns which hold the information we want to print.

- Farnell ref: the product reference from my preferred electronics supplier. Using this number I can quickly look up specs and datasheets on their site.
- Text1: typically the part reference or type
- Text2: typically part specs
- Package: package type
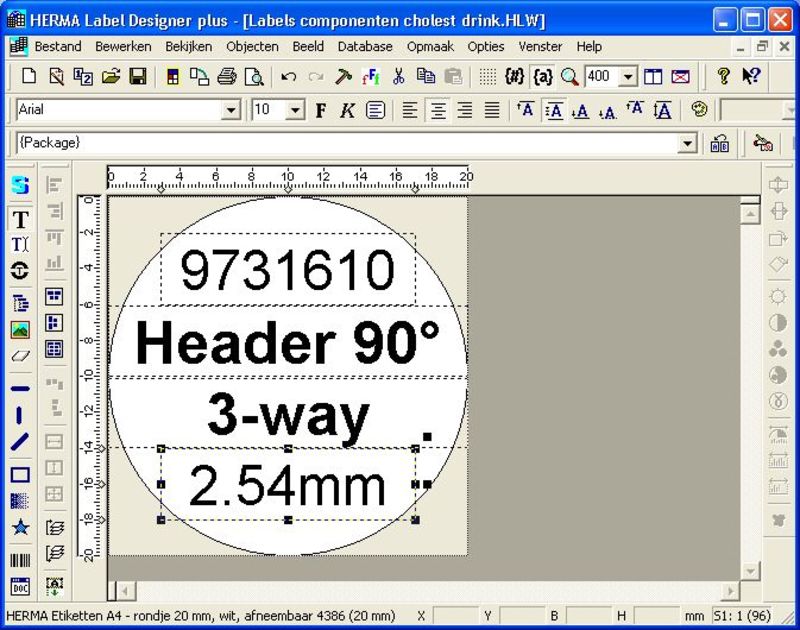
We’ll create a label to hold this information in Herma Label Designer. It is based on the standard template for 3468 labels, and has 4 text fields.
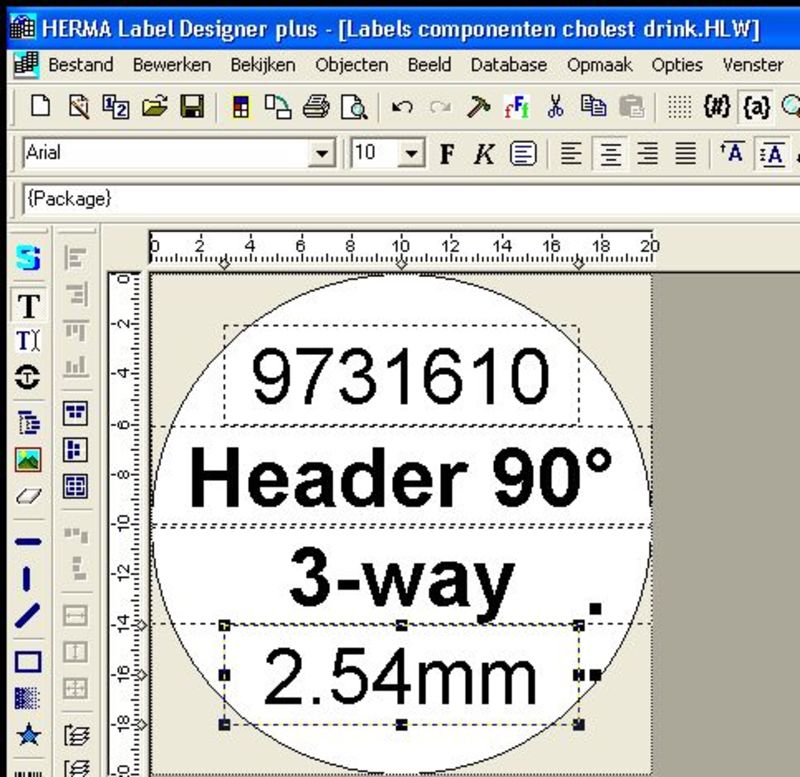
I have filled the text fields with dummy information, so that the text size can be set correctly.
If we attempt to print this label, we’ll end up with a sheet full of this same label. To print one label for each line in our Excel sheet, we’ll have to link the Excel file to the labels. This is done in the Database menu in Herma Label Designer.
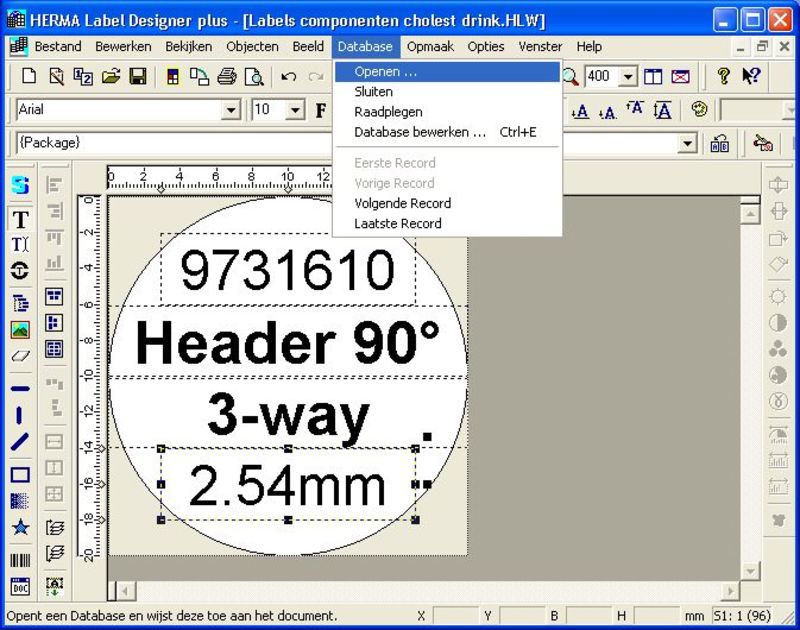
Let’s open our Excel file. From the Database menu, select Open and then select Excel tables (*.xls) from the Files of type drop-down. Now double-click the Excel file we want to import data from.

A window will pop-up allowing us to select the worksheet to import from. In our case there’s only one worksheet so we’ll select Sheet1$.
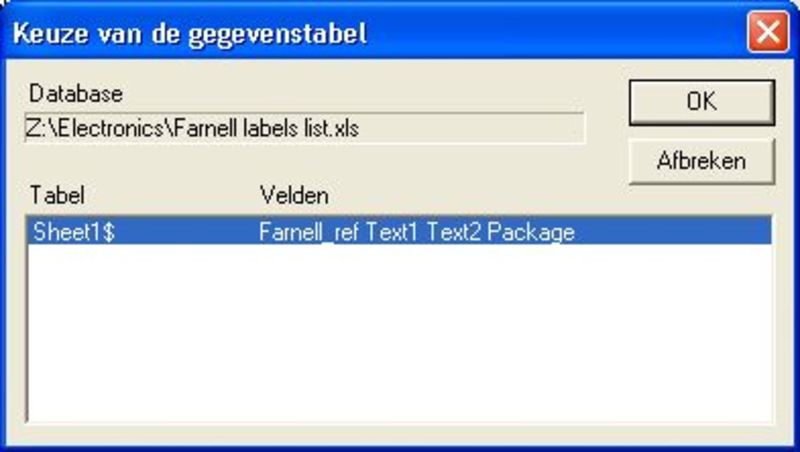
Now a window will appear that shows the column headings in the Excel sheet, but in a form which Herma Label Designer will use as labels to import from.

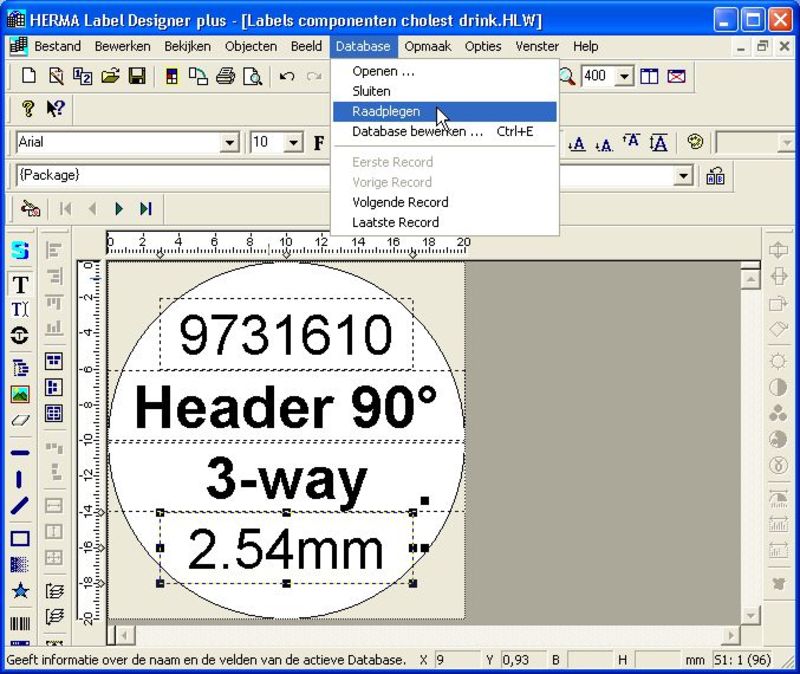
Note: if you forget these labels, you can re-open this window by clicking the _Database menu and selecting Consult.
You’ll notice nothing much has changed. We still only have that same static label. In the background however, our database has been opened for use with the label we’re making. Now how do we link them?
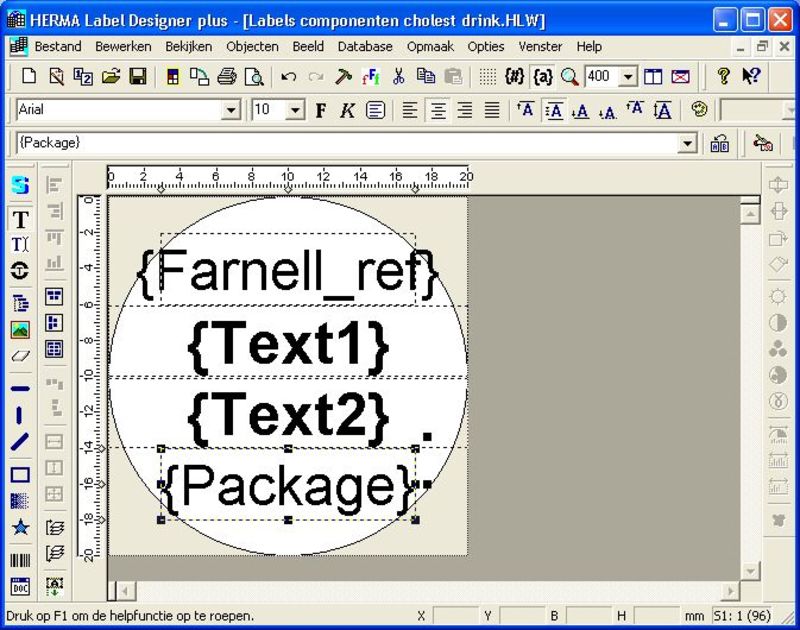
For the import from the Excel file to work, we’ll need to replace the text that we entered in the text fields by the labels which were provided to us in the previous window. We’ll need to put them between accolades so that they can be distinguished as labels instead of just text. This will tell Herma Label Designer which column to put in which text field on the label.
You will probably have to close and open the database again at this point before the import works.
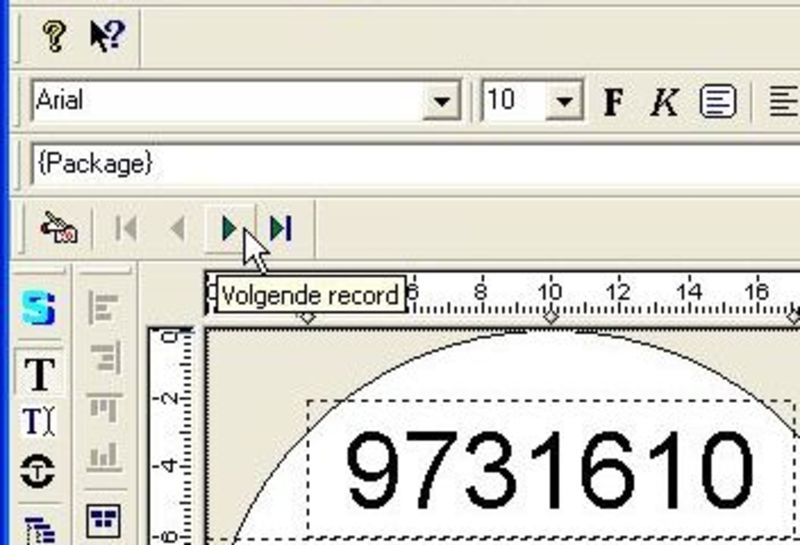
Now let’s open the Database toolbar. Go to View, Toolbars, and select the Database toolbar. It will appear somewhere next to your existing toolbars.

It will have arrows to go to the first, previous, next and last record. We should be able to navigate through the records (=data in the different rows in Excel) here, and the labels should change to reflect this data.
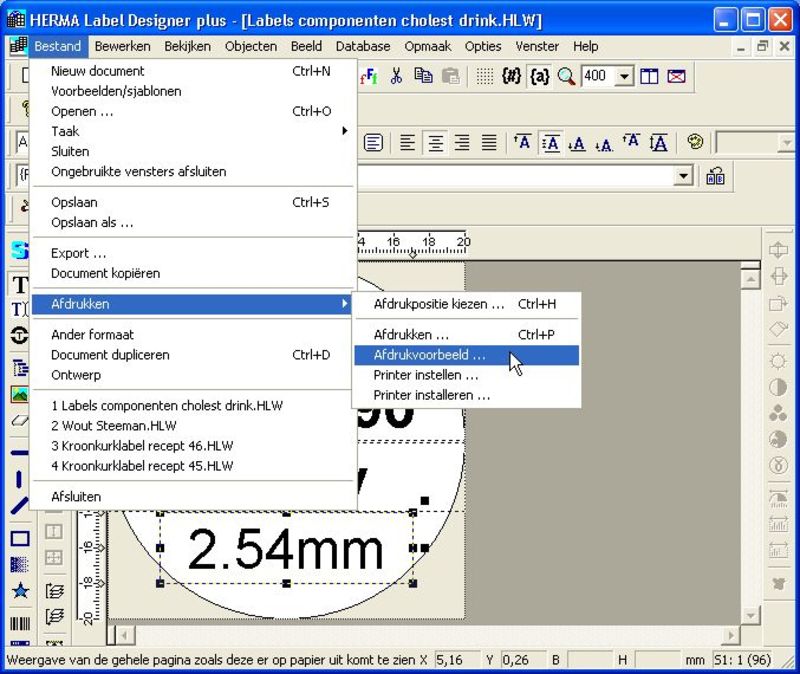
Now let’s do a print preview to see if the labels print with the correct information. Go to File, Print preview.
You’ll need to select the Use database checkbox here.
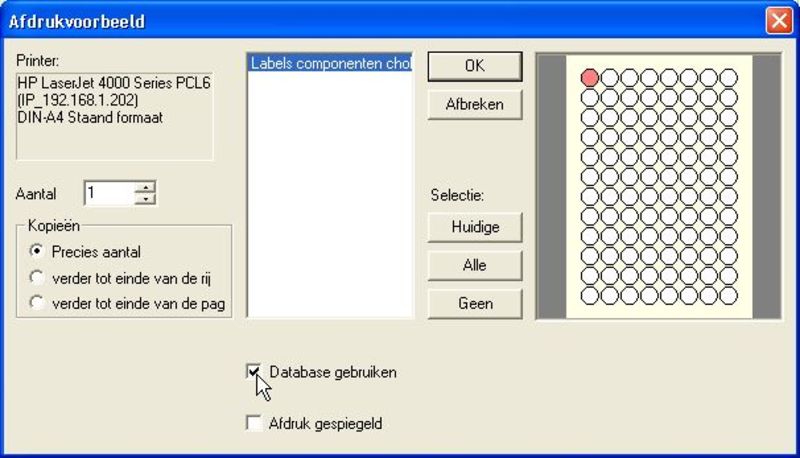
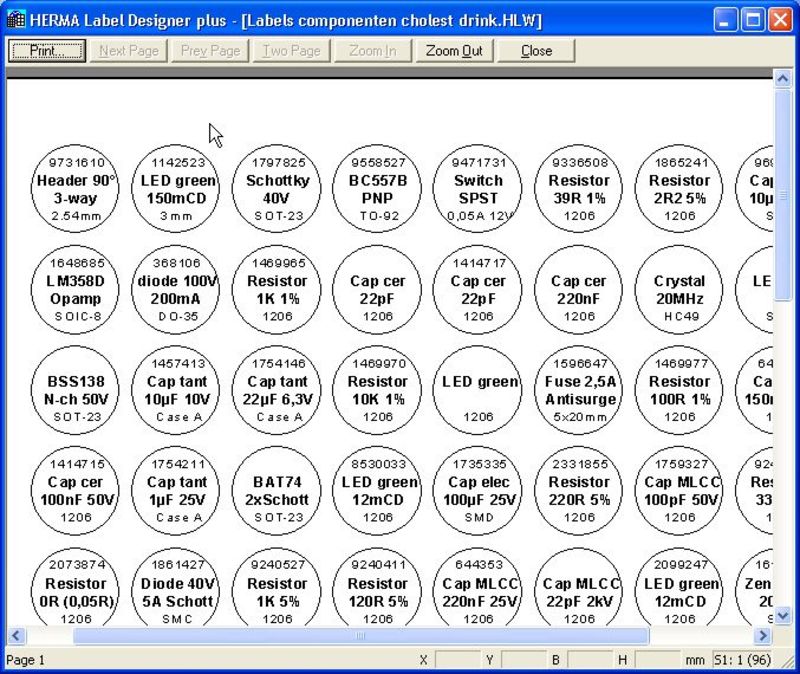
In the print preview we can see that Herma Label Designer is replacing the labels between accolades by the data from the Excel file. We can now proceed to print them.